Experts Need expert help? Don’t hesitate to talk.
Quick Summary
Unlock the potential of your Shopify store by mastering the creation of multiple product pages. Shopify’s intuitive platform empowers you to effortlessly display a myriad of products, essential for engaging customers and driving sales. Our comprehensive guide walks you through the steps, from adding new products and tailoring information to organizing them into collections and optimizing visibility across search engines. Elevate your ecommerce game and captivate customers with a diverse array of offerings!
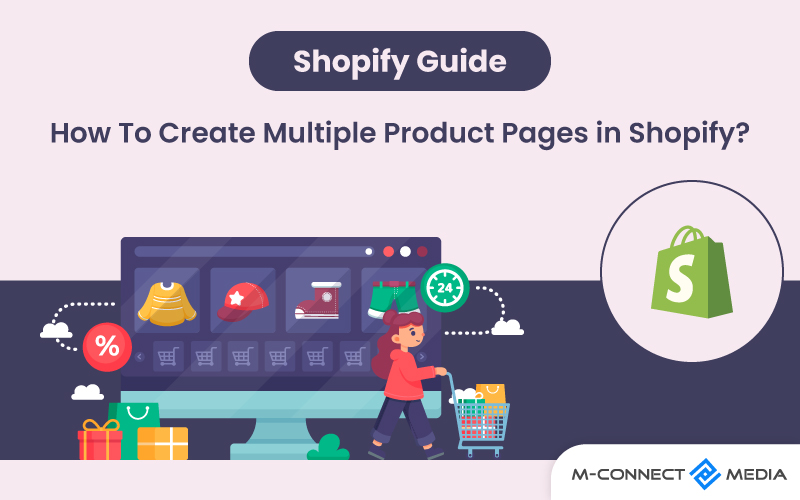
Multiple Product Pages in Shopify
Multiple Product Pages in Shopify mean that you can make many separate web pages for different products on your Shopify store. Each page is for a specific item or version that people can buy.
Having multiple product pages helps you show a wide variety of products. Each page has its own special information, pictures, price, and options to customize. It gives lots of details about one product, so customers can decide what they want to buy.
By having many product pages, you can organize and show your products better. People can easily find the things they’re interested in. Also, each product page can be seen more on search engines, so more people might discover your products.
In short, multiple product pages in Shopify let you make separate pages for each product. It helps customers learn more about each item and make good choices when they shop.
Also Read: Shopify B2B eCommerce Website: How To Successfully Create A Business-To-Business Store
Create Multiple Product Pages in Shopify Store
Follow these steps to create multiple product pages on your Shopify store:
1. Create A Brand-new Product Template
- Log in to your Shopify admin account.
- Go to the side menu and pick Online Store, then Themes to access your admin’s themes area.
- Click the three-dot button on the theme and select the Edit code option.
- Once in the code editor interface, navigate through the theme files in the left column until you reach the Templates folder.
- If the folder is collapsed, click the folder icon to reveal the file tree. When the folder is open, click the Add new template button.
- Next, decide what sort of template you want to create and give it a name.
Note: There should be no spaces between the words. Only use hyphens or underlines to separate words. Make sure you choose a unique file name. When you’re finished, click Create template.
2. Create New Section File
- While the code editor is still active, scroll down the theme files in the left hand column until you reach the Sections folder, and then click the folder icon to access it. When the folder is open, click the Add new section button.
- The next step is to give your new section a name. There should be no spaces between the words. Only use hyphens or underlines to separate words. Make sure you choose a unique file name. When you’re finished, click the Create section button.
- You should now have a new file with the name ‘product-sections-vegan-products.liquid’ that you may modify. Then, without saving the file, delete all of the code in it.
- Find and click on the file ‘product-sections.liquid’ in the Sections folder on the left hand column of files.
- Copy and paste everything in this file into your new empty ‘product-sections-vegan-products.liquid’ file.
- Click Save in the upper right corner of your screen.
3. Assign A Template to New Products Section
- Locate the new product template you made called ‘product.vegan-products.liquid’ in the Templates folder in the left hand column if it is not still open in the editing window.
- Look at the code once ‘product.vegan-products.liquid’ is accessible to see. Replace that line with a reference to your new Vegan template.
- Now, in the upper right corner of your screen, click Save.
- You may now pick your newly generated product template while editing a product in the editor.
- Finally, using your newly generated page template, go to the theme editor and add some content blocks to your product page.
Also Read: How to Customize Shopify Checkout Page: A Comprehensive Guide
How Do I Create Multiple Product Pages in My Shopify store?
Creating multiple product pages on Shopify is simple and may be performed in a variety of ways.
The ideal technique to accomplish this will be determined by the number of products you have and how much flexibility you desire on the layout of your sites.
- If you just have a few products:
- Use the default product page template.
- If you sell a huge quantity of products:
- Using the Shopify Theme Editor, you may create bespoke themes.
- If you want total control over the appearance and feel of your product pages:
- Make use of a third-party Shopify app.
Also Read: Shopify Guide: How to Develop Product Development Strategy That Work
Essential Tips to Consider:
If you want to make many product pages on Shopify, you need to know that it might not be good for something called ‘search engine optimization’ or SEO.
Having many pages for the same product could cause problems because search engines like Google might not like it. They might give you a punishment and not show your product pages to people who are searching for them.
Also, if you use keywords in the wrong way, it can make your SEO worse. It’s important to be careful and use keywords in the right places so that people can find your products easily.
Conclusion
Whether your Shopify store is a large catalogue of products or a simple one-product business, you’ll need to construct pages. Multiple product pages represent important turning points in your customer’s sales journey.
Creating engaging, informative product pages is critical for increasing sales on Shopify store. If you have more products or want greater control over the style of product pages, you may use Shopify Theme Editor to build custom templates.
Lastly, you can use another special app for Shopify to have more control over how your product pages look and feel. These apps are made by other companies and can help you design your pages exactly how you want them.
Also Read: 10 Best Shopify Development Trends To Consider in 2023
Mconnect Media is a great company that can help you with Shopify development. If you need assistance, just click and reach out to us. We’re here to listen and help you with any problems you have.
Do you have anything else to say? If so, please leave your comments in the comment section below. I’m always happy to answer. And, as always, good luck with your eCommerce journey!
Frequently Asked Questions:
- How can I separate a product description in Shopify?
Let’s say you have a description like this: ‘The product description is here. It’s a great item that does a fantastic job. I recommend it to everyone.’ To split it into two parts, you can do it like this: ‘The product description is here.
- How can I ship multiple orders from Shopify?
Sending many packages might seem hard, but with Shopify, you can ship multiple orders easily. With just a few clicks, you can send all the packages you need.”
- How can I put two Shopify products together?
In Shopify, there are different ways to combine products. One way is to use something called ‘Product Options.’ It lets you create different versions of a product, and each version can have its own price.
- How can I combine different versions of a product in Shopify?
Sometimes, you might want to offer different choices for a product in Shopify. For example, let’s say you have a t-shirt that comes in two colors and three sizes. You can mix and match these options to give your customers more choices.